


What is a canonical installation for?
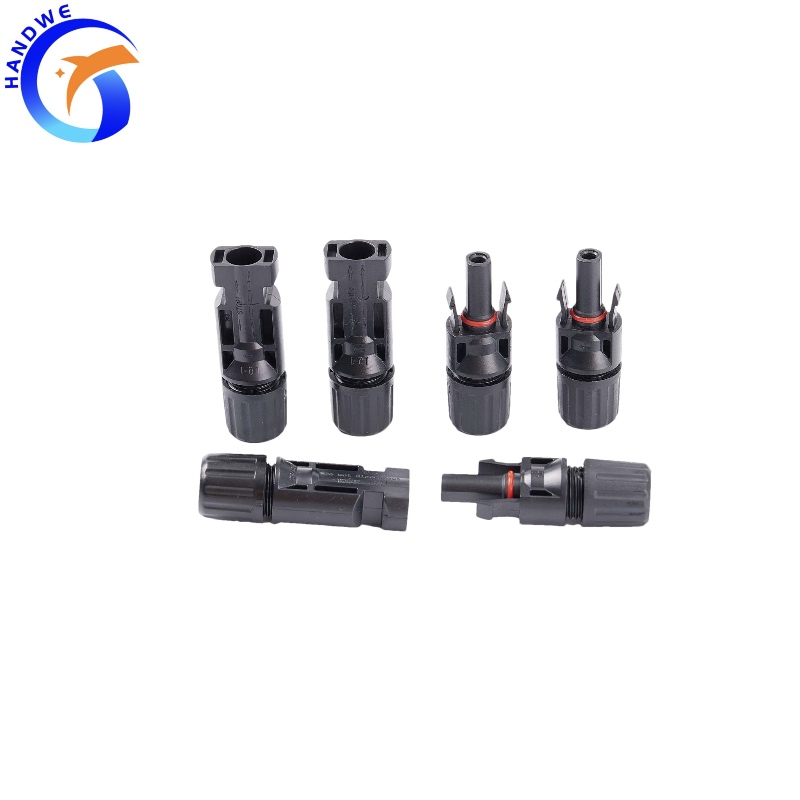
The root cause of connector failure is that in the case of current flow, the increase in resistance leads to an increase in temperature rise and exceeds the temperature range that the plastic shell and metal parts can withstand. Photovoltaic product experts analyzed the failed connectors of the Northwest Power Station and found that the burned parts of the connectors mainly exist in the middle part of the connector (ie A-B section, resistance Rco) and the crimping parts at both ends.
points (ie C-D section, crimping resistance Rcr).
In addition to product quality itself, improper installation is one of the main factors that cause Rco to increase. After the connectors of each manufacturer are inserted, in order to ensure the flow through, the lap length of the A-B segment is certain, so that the two metal parts are in complete contact. If the connector is not installed properly during the assembly process, the mating of the metal parts will come out.
is abnormal, which in turn causes the temperature to rise. The crimping resistance Rcr is mainly related to the crimping quality and the crimping process.
Irregular installation will increase the risk of connector failure, causing a series of chain reactions, such as system downtime, increased operation and maintenance costs, fire risks, etc., which in turn have a negative impact on ROI and LCOE.
Installation Step 1: Strip Wires
Stripping is to strip off the insulation layer at the end of the cable, and the stripping length is preferably 6~7.5mm. The standard IPC 620-2002 has strict regulations on the number of copper wires to be cut in the stripping process (no more than 5). If there are too many broken wires, the subsequent crimping and flow quality will be affected, resulting in a higher temperature rise. Therefore, we recommend using professional wire strippers to ensure the quality of wire stripping.
Recommended tools: wire strippers
Applicable range: 16-10AWG (2.5 — 6.0 mm2)
Weight: 0.6kgs
Length: 210mm
With inserts (marked with cross-sectional area), with length locator.
Installation Step 2: Crimp
Crimping is the process of crimping a cable wire into a metal core, creating a permanent connection between the two. To ensure crimp quality, we strongly recommend using professional crimping pliers. The specific steps of crimping are shown in the following figure: Open and hold the clip, place the metal core in the appropriate cross-sectional area, with the opening facing up, press until the opening touches the crimping die, and then insert the stripped end of the cable until the insulation of the cable Touch the crimp core and finally fully crimp.
Qualified crimping should have no broken wires, missing wires and burrs in appearance, symmetrical left and right, and correct front and rear positions of copper wires. Taking a 4mm2 cable as an example, the IEC 60352-2 standard requires a pull-off force of at least 310N and a crimp resistance of less than 135µΩ for open crimp ends with metal pins on the market. Professional crimping pliers can make the crimping with good air tightness, because it is difficult for gas to enter the inside, so as to avoid the problem of copper wire oxidation and reduce the risk of increased impedance. If a vise is used, not only does the pull-off force fail to meet the requirements (only 94N), but also the air tightness of the crimp connection is poor.
Recommended tools: crimping pliers
The operation is convenient, the metal core can be automatically returned, and the crimping efficiency is high. Insert blocks (marked with cross-sectional area) and positioning blocks can be replaced as required. The crimping quality is reliable, and the crimping resistance is small and stable.
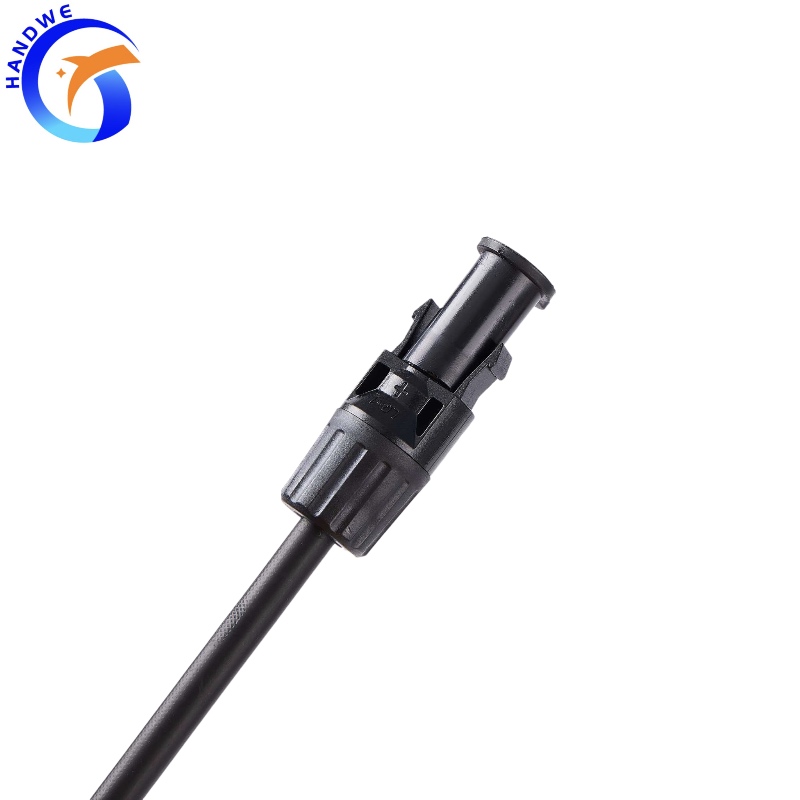
Installation Step 3: Insertion
Insert the cable end into the insulator, you will hear a "click" when it is in place, pull it slightly in the opposite direction to confirm the connection is secure. If conditions permit, you can check whether the installation is in place through the test rod, and the white mark on the test rod is required to be visible. Then use a wrench to tighten it. It should be pointed out that the nut of the MC4 does not need to be screwed to the bottom, and a certain gap should be left according to the outer diameter of the cable. Finally, plug the positive and negative connectors into each other and hear a "ding" sound to indicate that they are in place.